
Snow Camp Local
Garbage Disposal Installation and Replacement That Holds Up
From pulling the old unit to testing the drain connection, we handle the complete install.
Free estimate
Tell us what you need
Three fields. It reaches a person here, not a call centre.
Garbage Disposal Installation Done by a Plumber
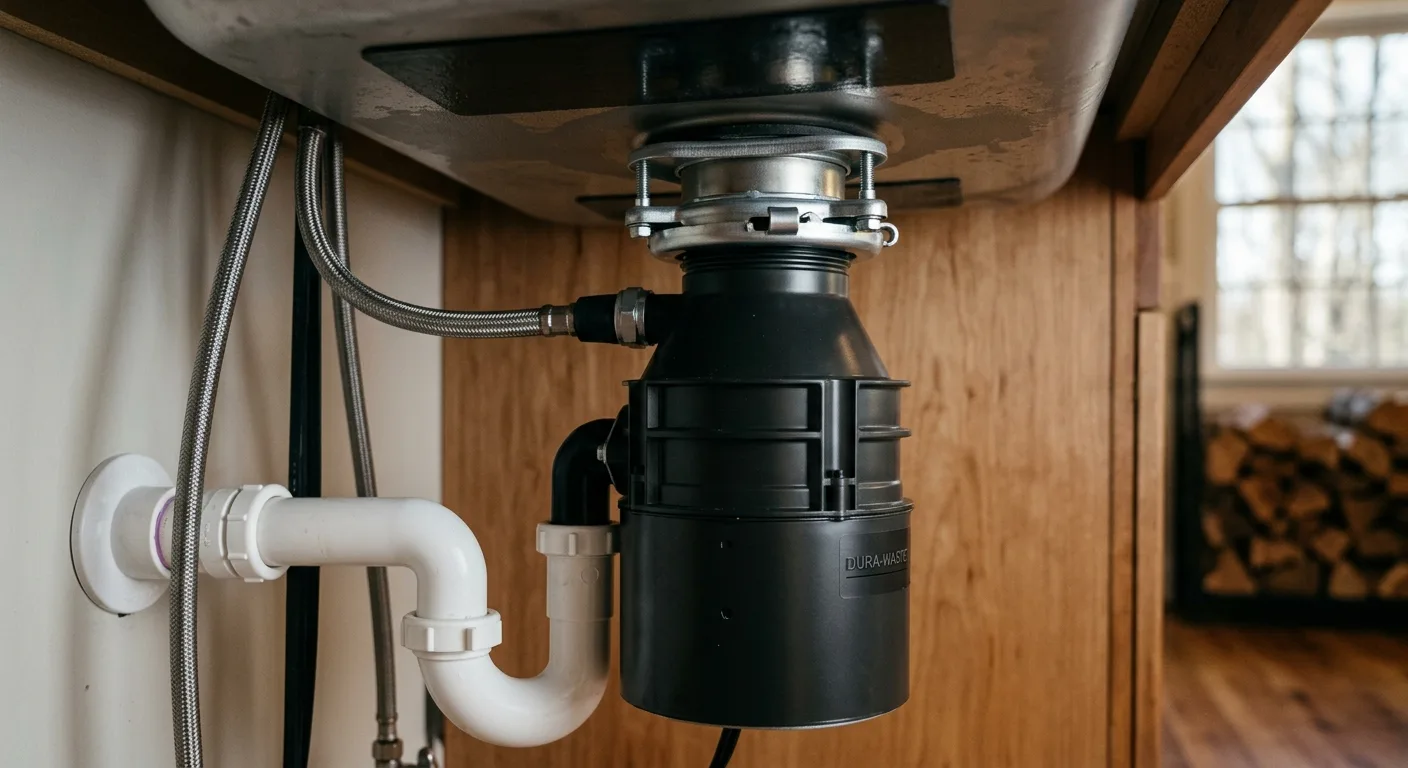
Garbage disposal installation is one of those jobs that looks straightforward until something goes wrong under the sink. A loose drain connection, an improperly wired switch, or a disposal that's undersized for the household will show you the problem within weeks. Thomas Plumbing & Construction handles the full install: removing the old unit, setting the new one correctly, confirming the drain tie-in doesn't leak, and making sure the electrical connection is solid before we leave. Call to schedule your garbage disposal installation today.
What drives the cost of a disposal install is mostly the condition of what's already there. If the existing mounting hardware fits the new unit and the drain plumbing is in good shape, it's a straightforward swap. If the sink flange is corroded, the drain arm needs repositioning, or the cabinet plumbing is a patchwork from three different owners, that's more time. Disposal size matters too: a 1/3 HP unit is fine for a single person, but a household that cooks daily and puts real food waste through it needs at least 3/4 HP or it'll burn out fast. Every job is different, contact Thomas Plumbing & Construction for an accurate estimate.
What a Correct Disposal Install Actually Covers
- 01
Remove the Old Unit Cleanly
We disconnect the drain, the electrical, and the mounting assembly without cracking the sink basket or damaging the cabinet floor. Rushing this step is how leaks start at the flange.
- 02
Inspect the Sink Flange
The flange seal is the most-missed failure point. If the plumber's putty is dried out or the flange is corroded, a new disposal on an old flange will leak from day one. We check it before the new unit goes in.
- 03
Mount and Wire the New Unit
Disposals mount on a twist-lock collar. It needs to seat fully and lock before the drain connection is made. The electrical side gets tested for proper grounding, not just plugged in and assumed.
- 04
Connect and Test the Drain
The drain arm angle matters. Too steep and food waste sits in the trap. Too shallow and it won't clear. We run water through the full drain path before calling the job done.
What to Know
Do You Actually Need a Plumber for This?
Quick Reference
Key Facts About Garbage Disposal Installation
Structured for the questions homeowners ask most often.
Motor Size Guides the Choice
For light use, 1/2 HP is sufficient. Households that cook frequently and put fibrous or starchy scraps through the disposal need 3/4 HP or higher. Undersizing the motor leads to jams and early burnout.
Continuous Feed vs. Batch Feed
Most homes have continuous feed disposals that run while the switch is on. Batch feed units require a stopper to operate and are safer in homes with small children. They cost more but the install is the same.
Dishwasher Drain Connection
If your dishwasher drains through the disposal, the knockout plug inside the inlet must be removed during install. It's a small step that gets skipped often, and when it does, the dishwasher backs up.
Hard Plumbing vs. Flex Connections
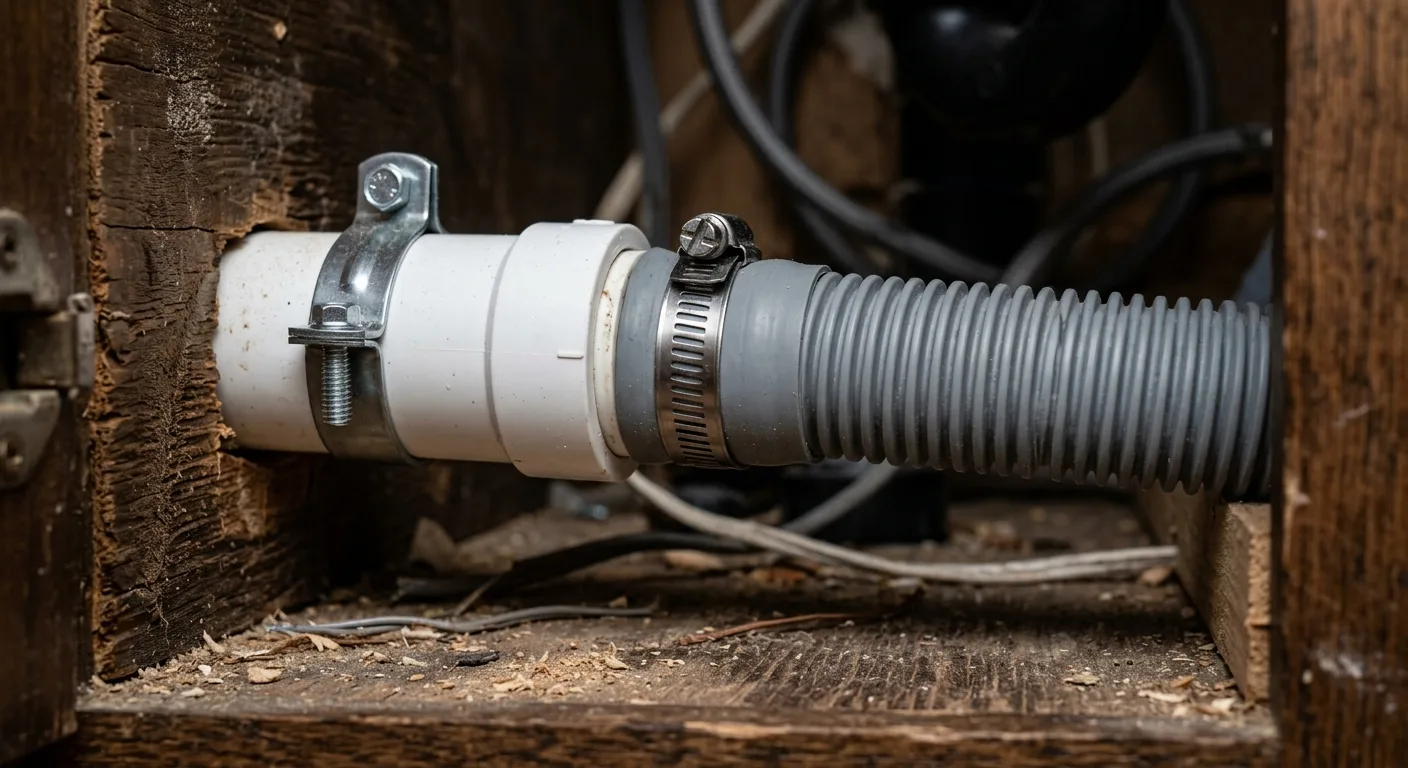
Some installs use flexible drain connectors as a quick fix. Rigid PVC is more reliable long-term. If we find flex tubing that's aging or kinked, we'll replace it as part of the job.
Noise Levels Vary by Brand
Sound insulation varies widely between units. Quieter models have extra insulation around the grinding chamber. If noise is a concern, that's worth factoring into which unit you buy before we arrive to install it.
When to Replace Instead of Repair
A disposal over eight to ten years old that's leaking from the body, not the connections, is done. Internal seals don't get replaced; the whole unit does. Check the reset button first, but a body leak means replacement.
Our Process
How the Install Goes From Start to Finish
Three stages, no surprises.
- 01
Assess Before Anything Comes Apart
We look at the existing plumbing, flange condition, drain configuration, and electrical setup before removing the old unit. If something needs correction, we tell you first.
- 02
Pull the Old, Set the New
Old unit out, flange inspected or replaced, new disposal mounted and wired. The drain arm gets set at the right angle for your specific cabinet and P-trap configuration.
- 03
Test It Fully Before We Leave
We run water, test the switch, verify there's no drip at any connection, and confirm the drain clears at normal flow. You shouldn't have to call us back for a leak we could have caught.
Related Plumbing We Handle at the Same Visit
Faucet Installation
If the kitchen faucet is dripping or the valves under the sink are stiff, we can handle faucet installation while we're already there. Combining jobs saves a second service call.
Drain Cleaning
A new disposal won't fix a slow drain caused by buildup further down the line. If the drain runs slow after install, professional drain cleaning clears the line properly instead of just masking the problem.
Leak Detection
Water under the sink isn't always the disposal. If you've seen unexplained moisture in the cabinet, we can check the full connection path for the source. Addressing a plumbing leak early keeps it from reaching the subfloor.
Garbage Disposal Service Across the Area We Cover
We install and replace garbage disposals in homes throughout Alamance, Chatham, and Orange County. If you're nearby, give us a call.
- Burlington
- Graham
- Mebane
- Elon
- Gibsonville
- Haw River
- Saxapahaw
- Siler City
- Pittsboro
- Hillsborough
- Liberty
- Swepsonville
- Whitsett
- Julian
Schedule Your Disposal Install
New disposal, correct install, no return trips for leaks.